

Being able to complete work from anywhere is becoming more and more expected. Because of this eSignatures are imperative for your agency. With AMI you can get remote work done faster and easier with eSignatures. An update we have is that you can send out e-signatures via texting now!
Send and sign agreements securely from virtually any device, eliminating manual tasks, while increasing convenience for your customers and employees. Our E-Signature tool can help your agency grow by freeing you from many time-consuming tasks and assisting with closing deals faster, all while mitigating your E&O exposure with a digital record.
If at any point you need further assistance or have any questions feel free to reach out to us as we are always here to help.
Create an E-Signature
It’s a simple process, but let us walk you through it. You’ll be sending and receiving E-Signature documents in no time.
1. Log in to AMI
Using your registered email address and password, sign in to the AMI portal at accessmyinsurance.com
2. Go to E-Signature Forms
Select E-Signatures from the main menu.

3. New Signature Form
Select “Create New Signature Document”.

4. Primary Recipient
Enter the Primary Recipient details using:
- “Select a Customer” to assign a Newton Customer Profile and Contact.
- “Enter Recipient Manually” to send to a non-Newton contact including the Recipient Name and Recipient Email.
- Optionally, enter up to 3 Additional Recipients as needed (including yourself, if you’d like to sign your designated signature fields electronically); click Next.

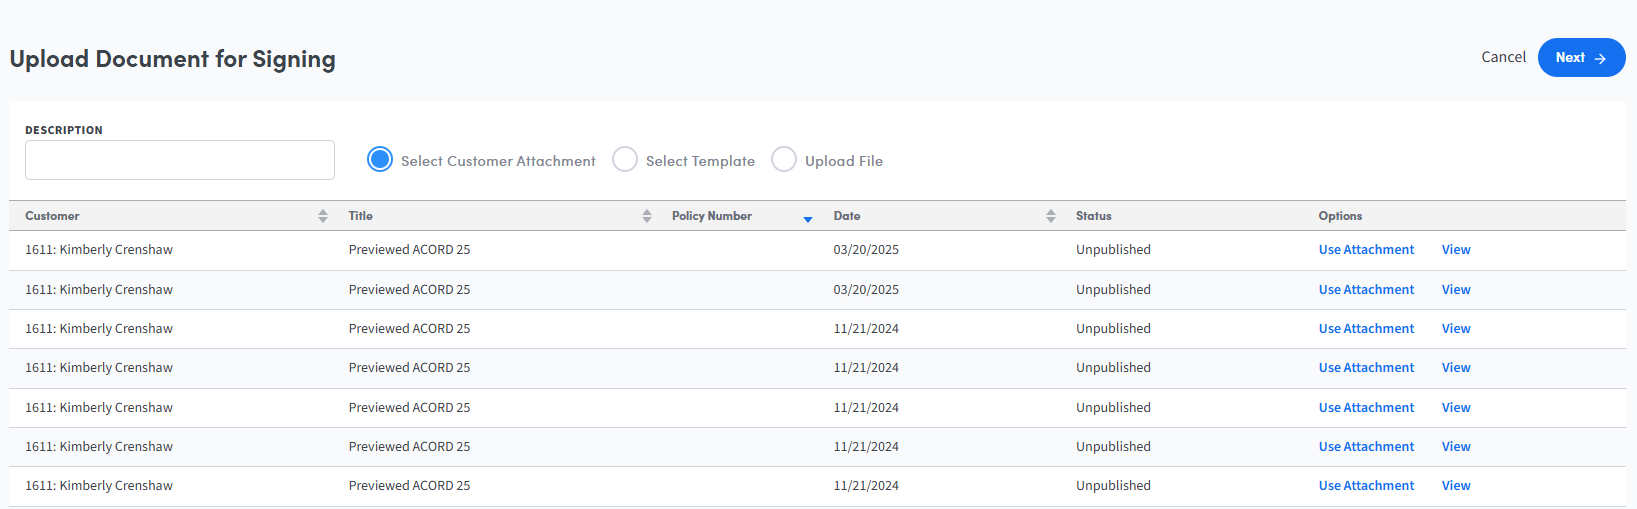
5. Customer Attachment
When using “Select Customer Attachment” enter the Form Description, then select “Use Attachment” to import the PDF document(s) from the customer’s profile in Newton; click Next.
* Click on “Select Template” to take advantage of commonly used forms with pre-selected field options. *
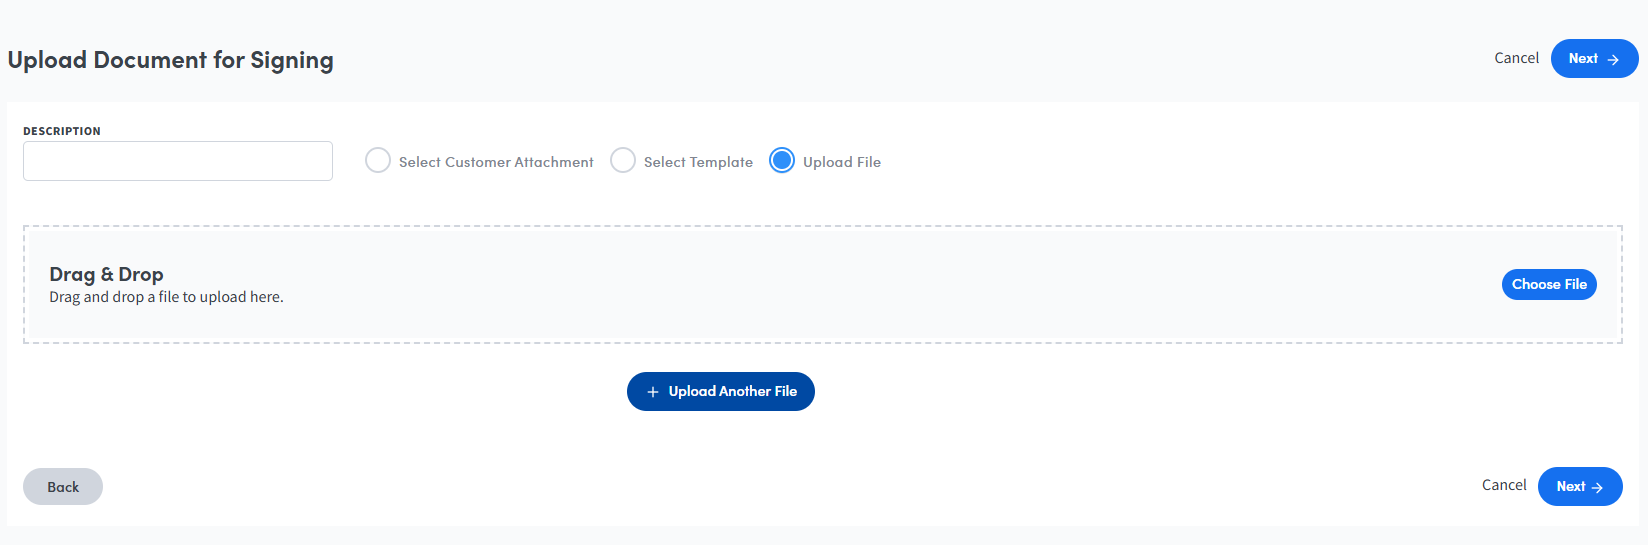
6. Upload File
When using “Upload File” enter the Form Description, then use Drag & Drop or Choose File to import the pdf document(s); click Next.
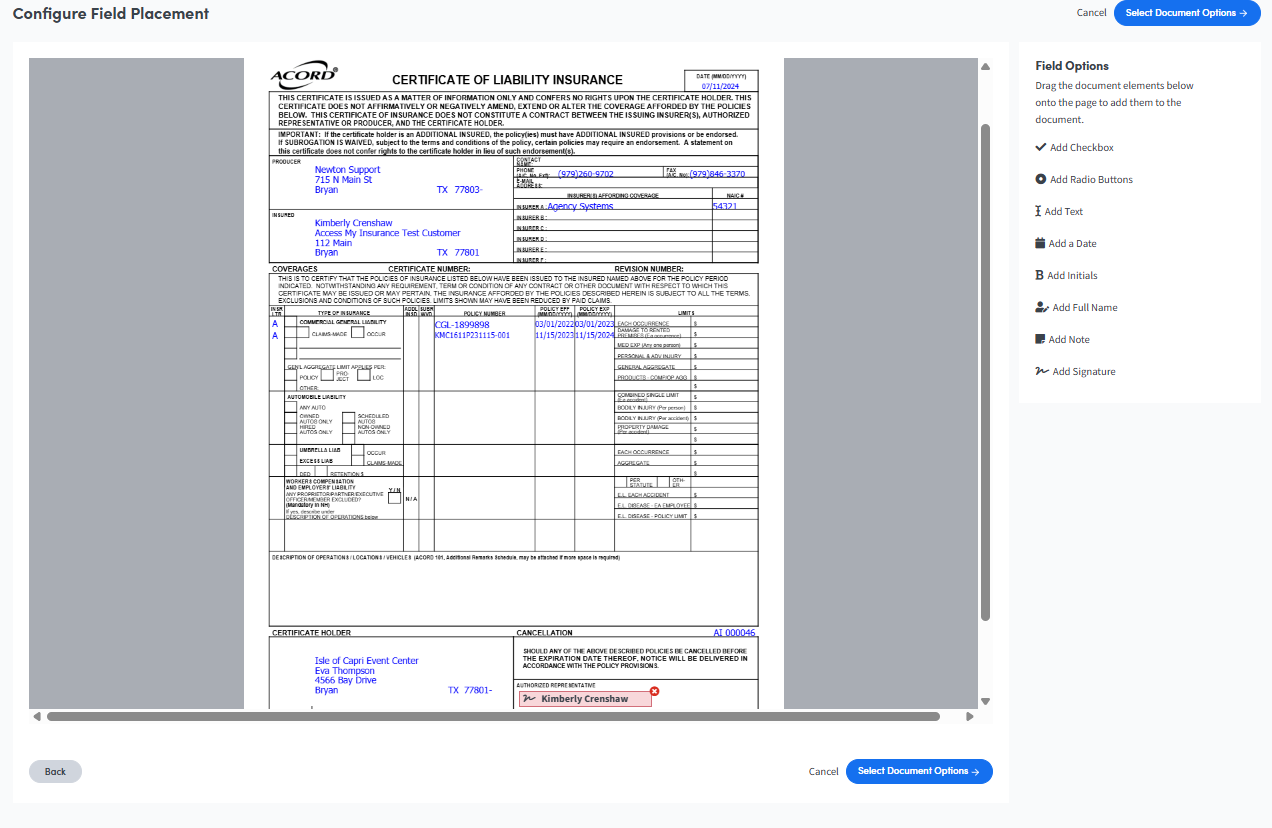
7. Field Options
Drag and Drop the desired Field Options onto the page(s) to add them to the document; click “Select Form Options” to continue.
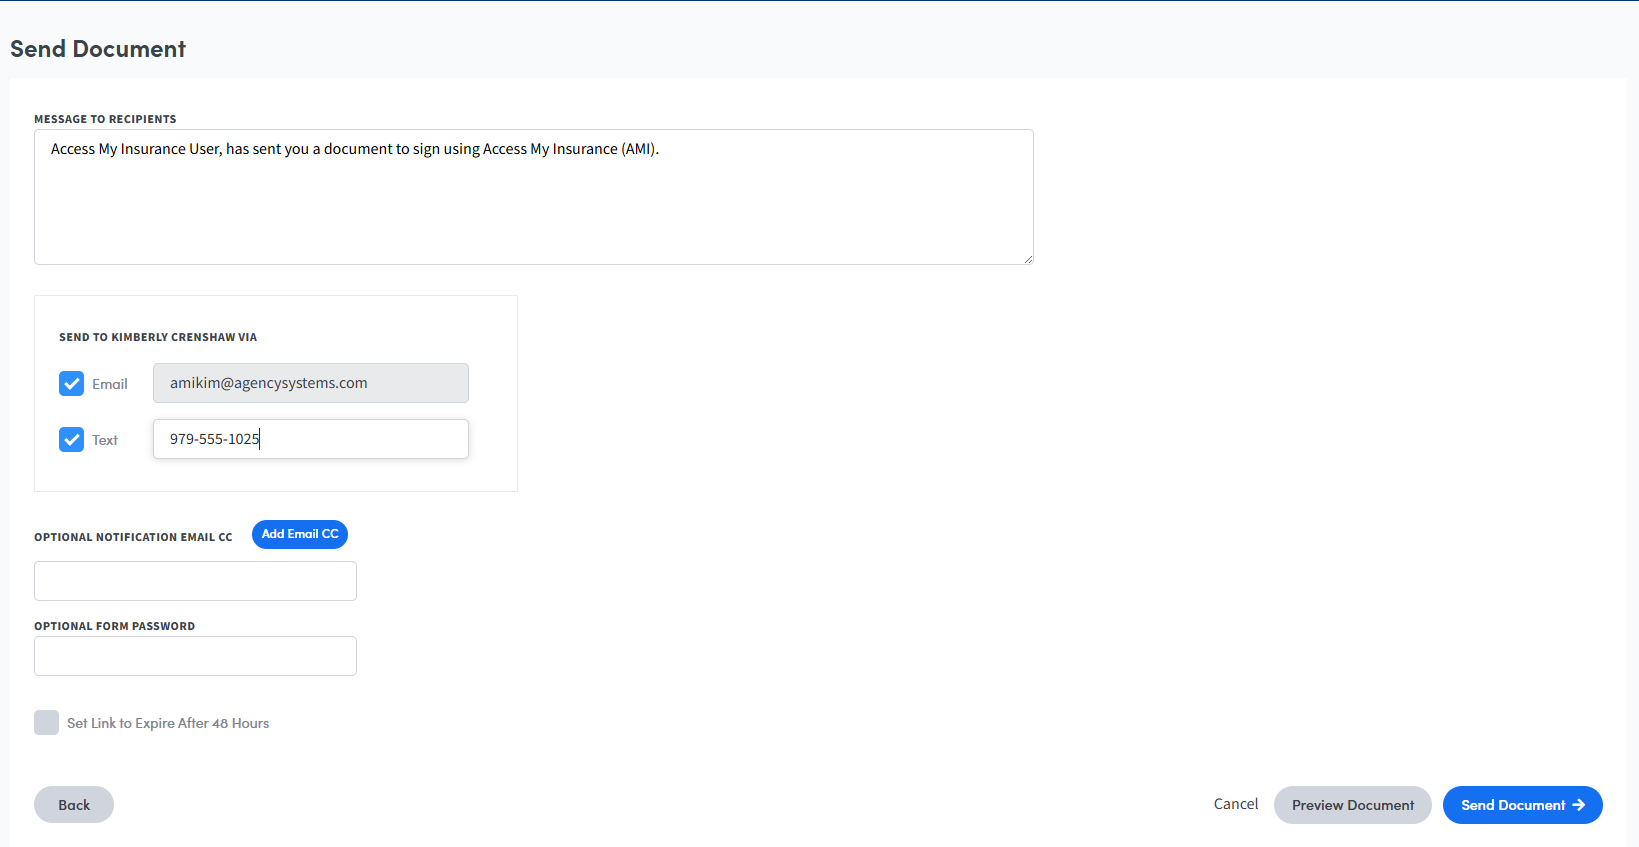
8. Customize Email/Text Message & Send Document
If desired, choose from the available Form Options to customize the email message, set an expiration for the document link, and/or add a password for access to the signature form. Once all entries are completed, select Send Document to email the signature form to the recipient(s) for completion.
We Are Here to Help
Now you’re ready to start sending text messages like a pro! If you need any assistance or have any questions feel free to reach out to us as we are always here to help.